How to Make Delicious Homemade Artisan Bread Easily
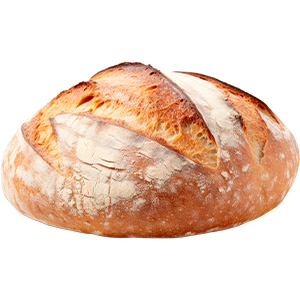
Artisan bread is a rustic, hearty loaf with a crisp crust and soft, chewy interior. While it may look like something only a professional baker can achieve, you can make delicious homemade artisan bread with minimal ingredients and a simple process. By following these easy steps, you’ll enjoy fresh, bakery-quality bread straight from your oven.
1. Use Simple, High-Quality Ingredients
Artisan bread relies on just a few key ingredients: flour, water, yeast, and salt. The quality of these ingredients makes a big difference in the flavor and texture of your loaf.
Ingredient Tips:
- Use unbleached bread flour for a stronger gluten structure.
- Opt for filtered water to avoid any impurities that may affect the yeast.
- Sea salt or kosher salt adds a better flavor than table salt.
2. Master the No-Knead Method
The no-knead method is a simple, hands-off approach to making artisan bread. Instead of kneading, the dough rests for an extended period, allowing gluten to develop naturally.
Steps for the No-Knead Method:
- Mix the ingredients until combined—no need to knead!
- Let the dough rise at room temperature for 12-18 hours.
- Shape the dough gently to preserve its airy texture.
3. Achieve the Perfect Crust
The hallmark of artisan bread is its crisp, golden crust. To achieve this, you’ll need steam during the baking process. Baking in a Dutch oven traps steam, creating a perfect crust every time.
Crust Tips:
- Preheat the Dutch oven to ensure consistent heat.
- Spray the dough lightly with water before baking for extra steam.
- Remove the lid during the last 10-15 minutes for a golden-brown finish.
4. Allow Proper Proofing
Proofing, or allowing the dough to rise, is crucial for creating light, airy artisan bread. The dough should double in size and have visible bubbles when ready to bake.
Proofing Tips:
- Proof the dough in a warm, draft-free spot for the best results.
- Avoid over-proofing, which can cause the dough to collapse.
- Use a floured kitchen towel to prevent sticking while the dough rests.
5. Let the Bread Cool Before Slicing
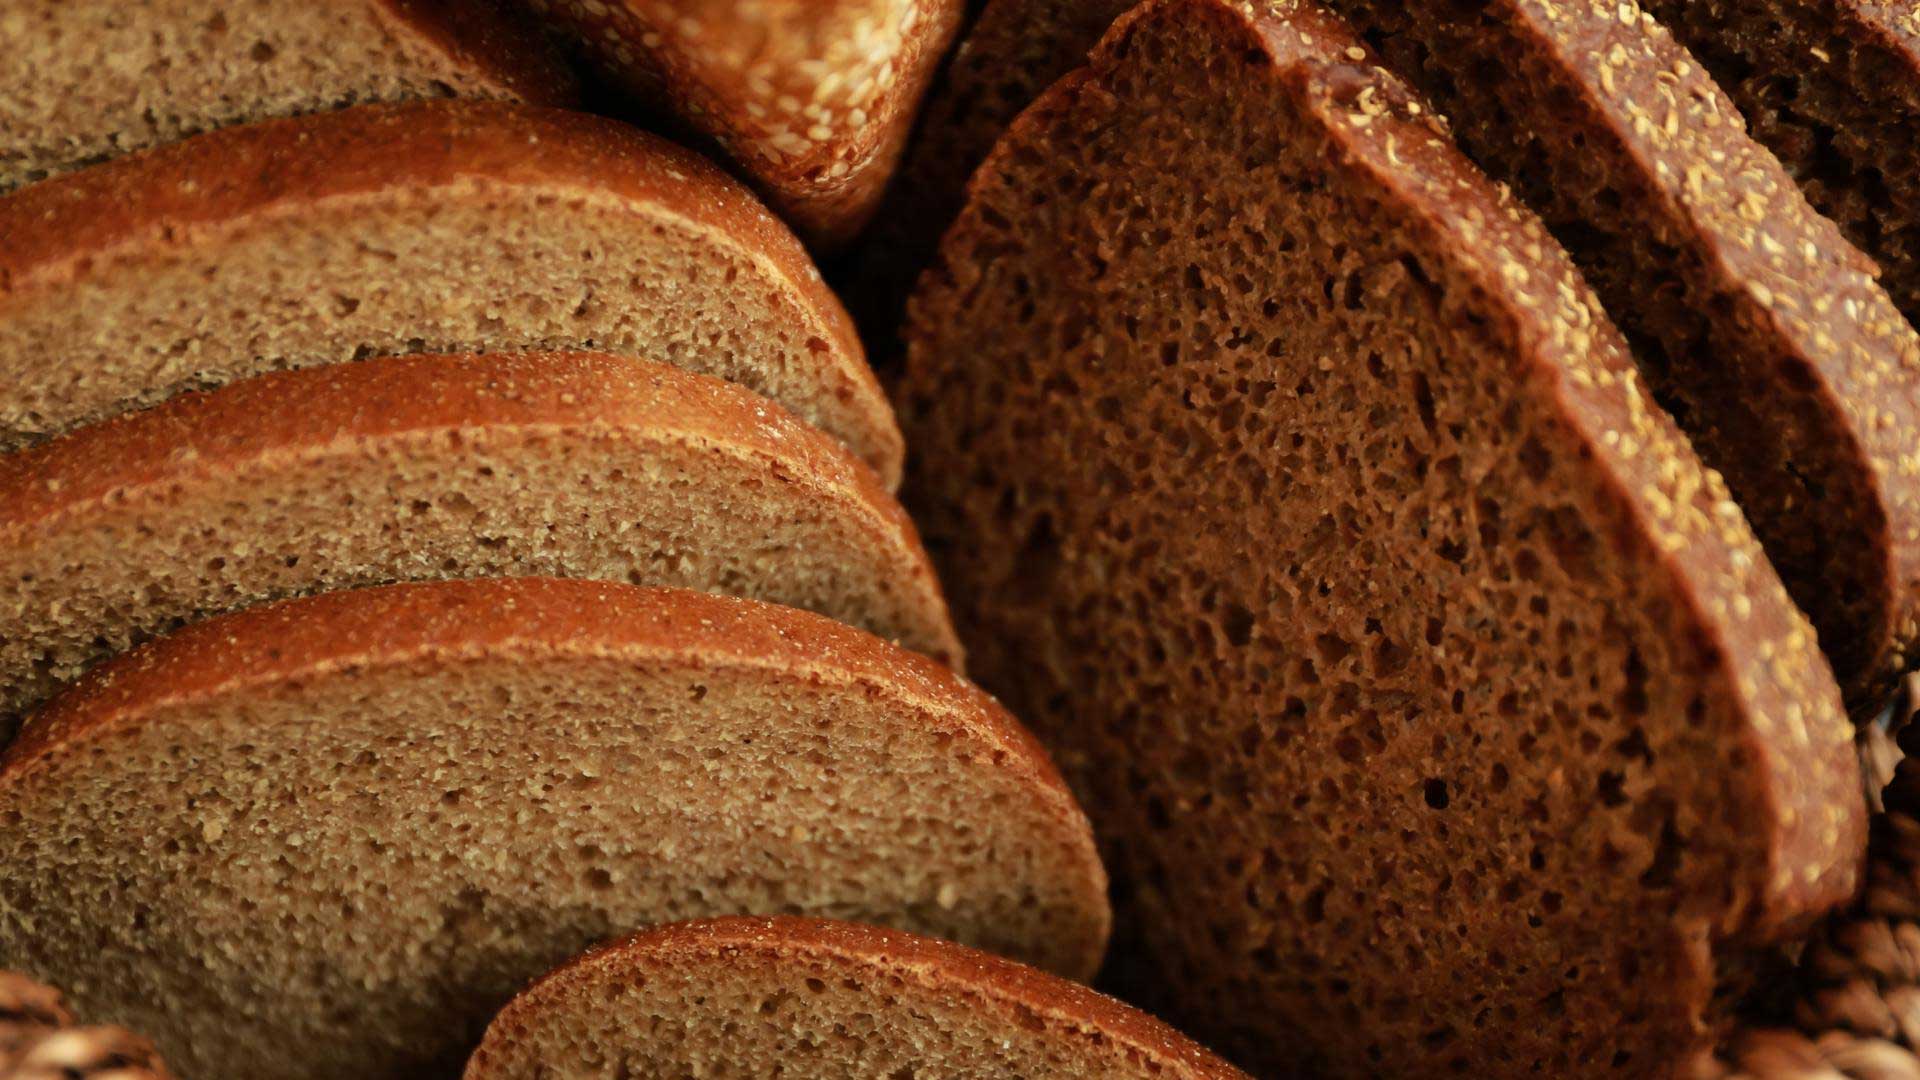
It’s tempting to slice into fresh bread immediately, but letting it cool ensures the crumb sets properly. This step is key to achieving the chewy, airy texture of artisan bread.
Cooling Tips:
- Let the bread cool on a wire rack for at least 20-30 minutes.
- Slicing too soon can make the bread gummy or collapse.
- Use a serrated knife to cut clean, even slices.
Conclusion
Making homemade artisan bread is easier than you think and requires only simple ingredients, time, and patience. By following these steps—using quality ingredients, mastering the no-knead method, and creating the perfect crust—you can bake rustic, flavorful bread that rivals any bakery. Give it a try, and enjoy the satisfaction of freshly baked artisan bread from your own kitchen!
